Arduino Nano ESP32 and DFRobot Gravity I2C Non-contact IR Temperature Measuring Device
Today we are going to build a temperature measuring device project using Arduino NANO ESP 32, DFRobot’s Gravity I2C Non-contact IR temperature Sensor. We’ll also use SSD 1306 OLED Display,
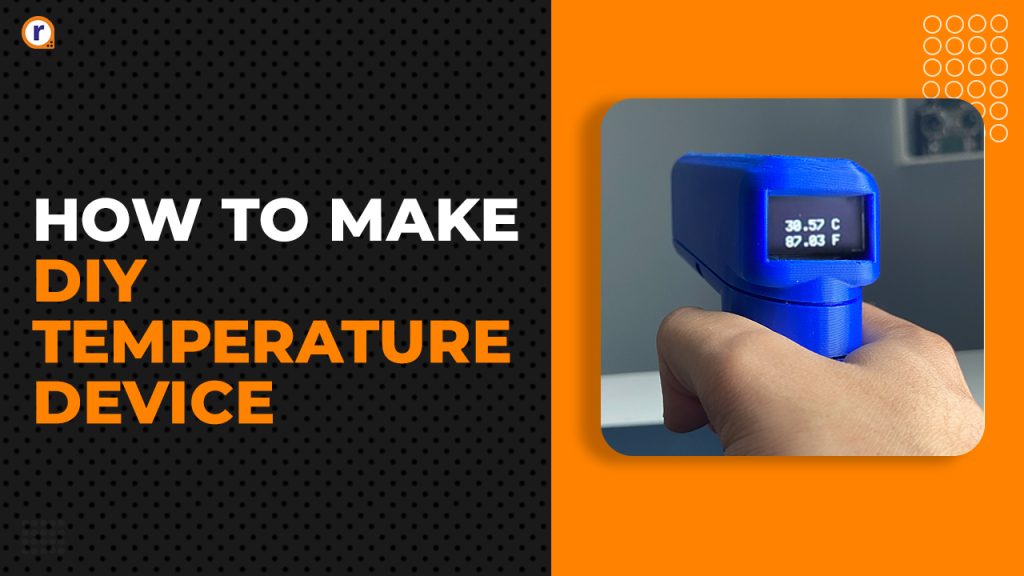
Today we are going to build a temperature measuring device project using Arduino NANO ESP 32, DFRobot’s Gravity I2C Non-contact IR temperature Sensor. We’ll also use SSD 1306 OLED Display, a laser module, Li-Po battery to power the project, Li-Po charging module and 5V boost converter to bring up the voltage from 3.7v to 5v.
And to make it portable, we’ll encase the entire project in a 3D printed housing.
Okay so let’s get started.
List of Contents -
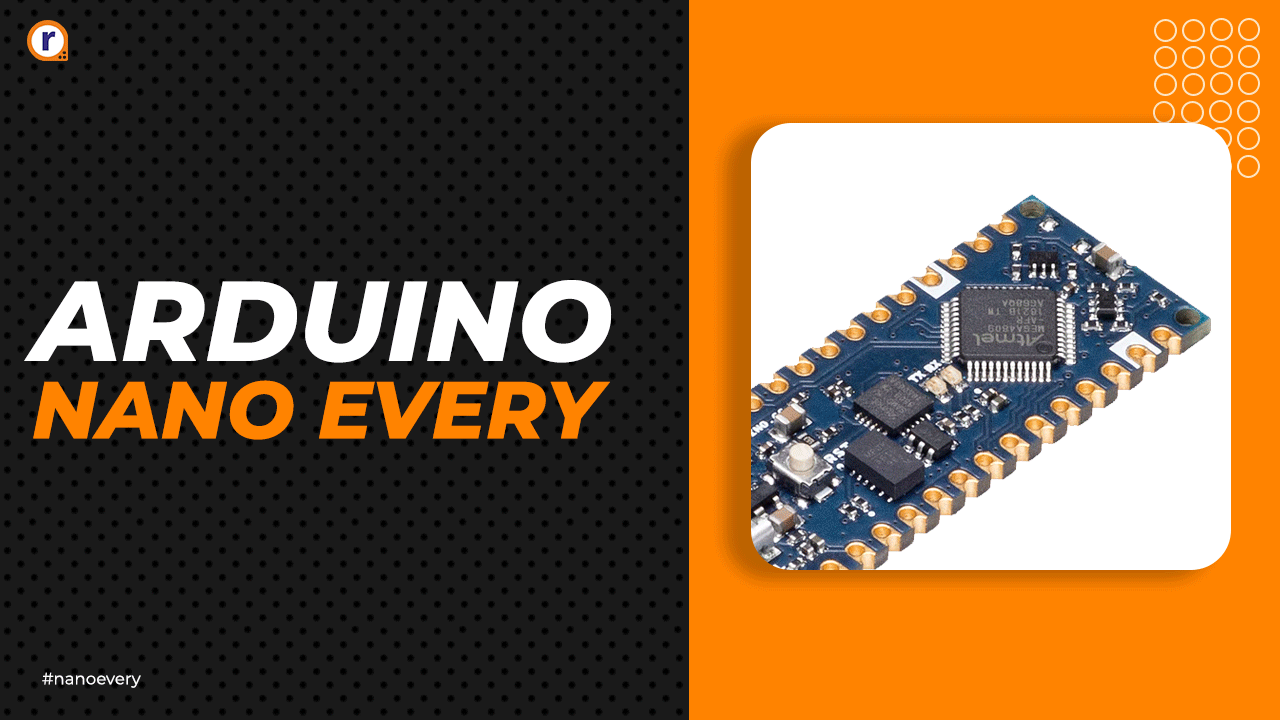
What is Arduino Nano ESP32?
Arduino Nano ESP 32 is a new development board provided by Arduino (an open-source electronic platform). It allows us to connect our Arduino devices to internet for IOT related capabilities.
Some of the key features of Arduino Nano ESP32 -
- IOT Integration
- Data Storage and Analysis
- User-friendly interface
- In built Wi-fi
- Low power requirement.
Hardware requirement of this project -
- Arduino NANO ESP32
- DFRobot Gravity IR Non-Contact Temp Sensor
- SSD 1306 I2C OLED LCD display
- 6mm Laser Module
- 500mAh Li-Po Battery
- 1A Li-Po charging module
- Boost converter
- Jumper Wires
- Flush Metal Switch
- Push Switch
- 3D Printed Housing
Software requirement of this project -
- Arduino IDE.
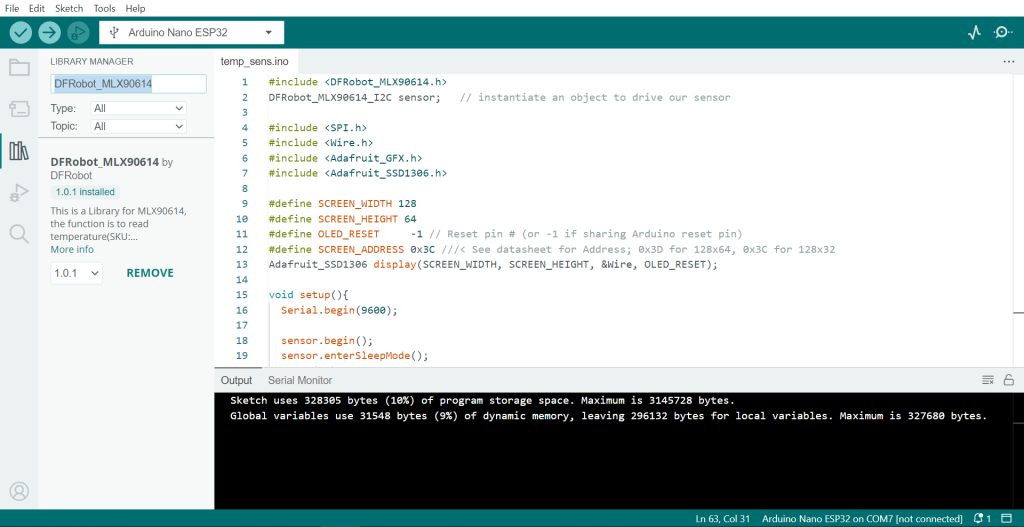
- DFRobot’s DFRobot_MLX90614 library.
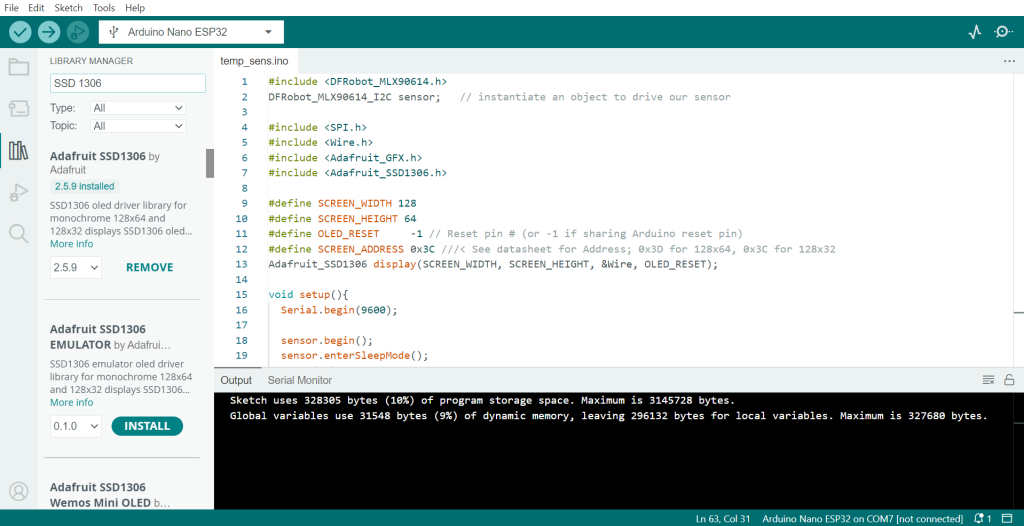
- SSD 1306 OLED Display by Adafruit Industries library.
Okay then, now lets move onto setting up IDE and Libraries.
Prerequisites and setting up -
Download Arduino IDE from official Arduino's site or from windows/app store.
Install the IDE, and open it up.
After opening it up you need to get the libraries for the sensor's and display to make them work with Arduino Nano ESP32.
Libraries -
Open the manage library section and search for "DFRobot_MLX90614" and install the latest version of the library. It'll make the IR temp sensor work with the Arduino Nano ESP32.
Next, we'll need to get the drivers for the SSD 1306 OLED Display. For that, search for SSD1306 in the same section and Install the one which is provided by the Adafruit Industries. During installation, of this library, it might ask to install few additional dependencies such as "GFX Library" and few more.
Install all of the dependencies along with it.
Circuit Diagram & Hardware Interfacing -
Circuit Diagram -
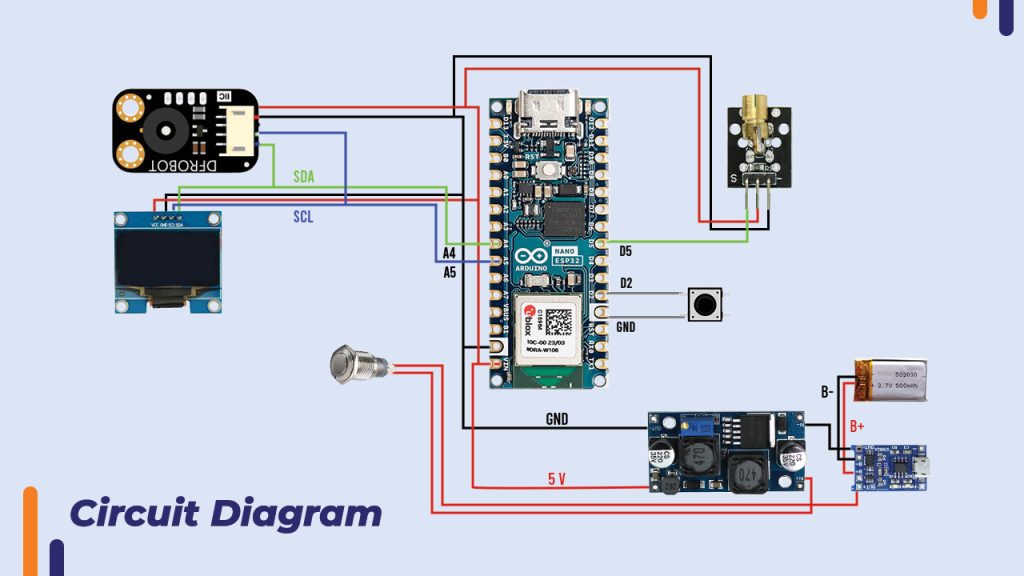
Hardware Interfacing -
DFRobot Sensor -
|
DFRobot Sensor Pins |
Arduino NANO ESP32 PINS |
|
+Ve |
5v |
|
-Ve |
GND |
|
SDA |
A4 |
|
SCL |
A5 |
SSD 1306 OLED Display -
|
SSD 1306 OLED Display |
Arduino NANO ESP32 PINS |
|
+Ve |
5v |
|
-Ve |
GND |
|
SDA |
A4 |
|
SCL |
A5 |
Laser Module -
|
Laser Module |
Arduino NANO ESP32 PINS |
|
+Ve |
5v |
|
-Ve |
GND |
|
S |
D5 |
Code -
Copy the following code into the IDE, and select the PORT on which Arduino Nano ESP32 is on.
It should be automatic in newer IDE's, but in case it didn't auto select the PORT, assign the correct port in Tools section of the IDE.
#include <DFRobot_MLX90614.h>
DFRobot_MLX90614_I2C sensor;   // instantiate an object to drive our sensor

#include <SPI.h>
#include <Wire.h>
#include <Adafruit_GFX.h>
#include <Adafruit_SSD1306.h>

#define SCREEN_WIDTH 128
#define SCREEN_HEIGHT 64
#define OLED_RESET     -1  // Reset pin # (or -1 if sharing Arduino reset pin)
#define SCREEN_ADDRESS 0x3C  // See datasheet for Address; 0x3D for 128x64, 0x3C for 128x32
Adafruit_SSD1306 display(SCREEN_WIDTH, SCREEN_HEIGHT, &Wire, OLED_RESET);

void setup(){
  Serial.begin(9600);

  sensor.begin();
  sensor.enterSleepMode();
  delay(50);
  sensor.enterSleepMode(false);
  delay(200);
  display.begin(SSD1306_SWITCHCAPVCC, SCREEN_ADDRESS);
  display.display();
  display.clearDisplay();
  display.setTextSize(2);
  display.setTextColor(SSD1306_WHITE);
  display.setCursor(35, 5);
  display.println("Point");
  display.setCursor(62, 25);
  display.println("&");
  display.setCursor(35, 45);
  display.println("Shoot");
  display.display();
  delay(1000);

  pinMode(2, INPUT_PULLUP);
  pinMode(5, OUTPUT);

}

void loop(){
  int btn= analogRead(2);
  if(btn == 0){
    float temp=0;
    for(int i=0; i<10 ; i++){
      temp += sensor.getObjectTempCelsius() + 0.60;
      delay(90);
    }
    float objectTemp = (temp/10) - 0.30;

    digitalWrite(5, HIGH);

    display.clearDisplay();
    display.setTextSize(2);
    display.setTextColor(SSD1306_WHITE);
    display.setCursor(5, 5);
    display.println("Temp: ");
    display.setCursor(20, 28);
    display.println(String(objectTemp) + " C");
    display.setCursor(20, 50);
    display.println(String(objectTemp*9/5 + 32) + " F");
    display.display();
  }

  else{
    digitalWrite(5, LOW);
  }
  delay(300);
}
Working of the Project -
So, when we press the switch to turn on the system. The Arduino initializes the display and the IR temp sensor. And when the trigger is pressed, Arduino takes 10 readings over 1 sec and calculates the average temperature for those 10 readings. And then display's it on the OLED display fitted on the back of the device.
Why take 10 reading's and average it? Its because the temperature sensor is bit sensitive, and the values it gives out changes little bit every time it measures the same spot. So taking 10 reading's and averaging them out improves our accuracy quite a bit.
And the 1 Amp Li-Po charging module in the bottom of the model, will charge and indicate on full battery. And we've used boost converter, to bring up the voltage of Li-Po battery from 3.7V to 5V, because Arduino Nano ESP32, DFRobot's Temperature Sensor, and SSD 1306 OLED display working voltage is 5V.
Conclusion -
So, in this way we have made a Temperature measuring device using DFRobot’s sensor and paired it with Arduino Nano Esp32. Why Nano Esp32? If in future we require the device to be IOT enabled, we can enable it easily.
Through it can save the temperature recordings to a could server for later retrieval and further use or analysis.
- For more such Arduino based projects, check out our Arduino Playlist
- And for other more interesting projects, check our main YouTube Channel
Mentions -
We've used the the housing model of this creator from thingiverse, named - ReubenB92




Great content I really enjoyed this post! ❤️
I like the efforts you have put in this, regards for all the great content.